
 Last year in September the best friend and I went to a weekend scrapbook crop. One of my tasks of the weekend was making a birthday card for Sister's birthday. Since she lives a kajillion miles away, I was sending her a fun birthday package, and wanted to include a handmade card. Handmade just makes everything better.
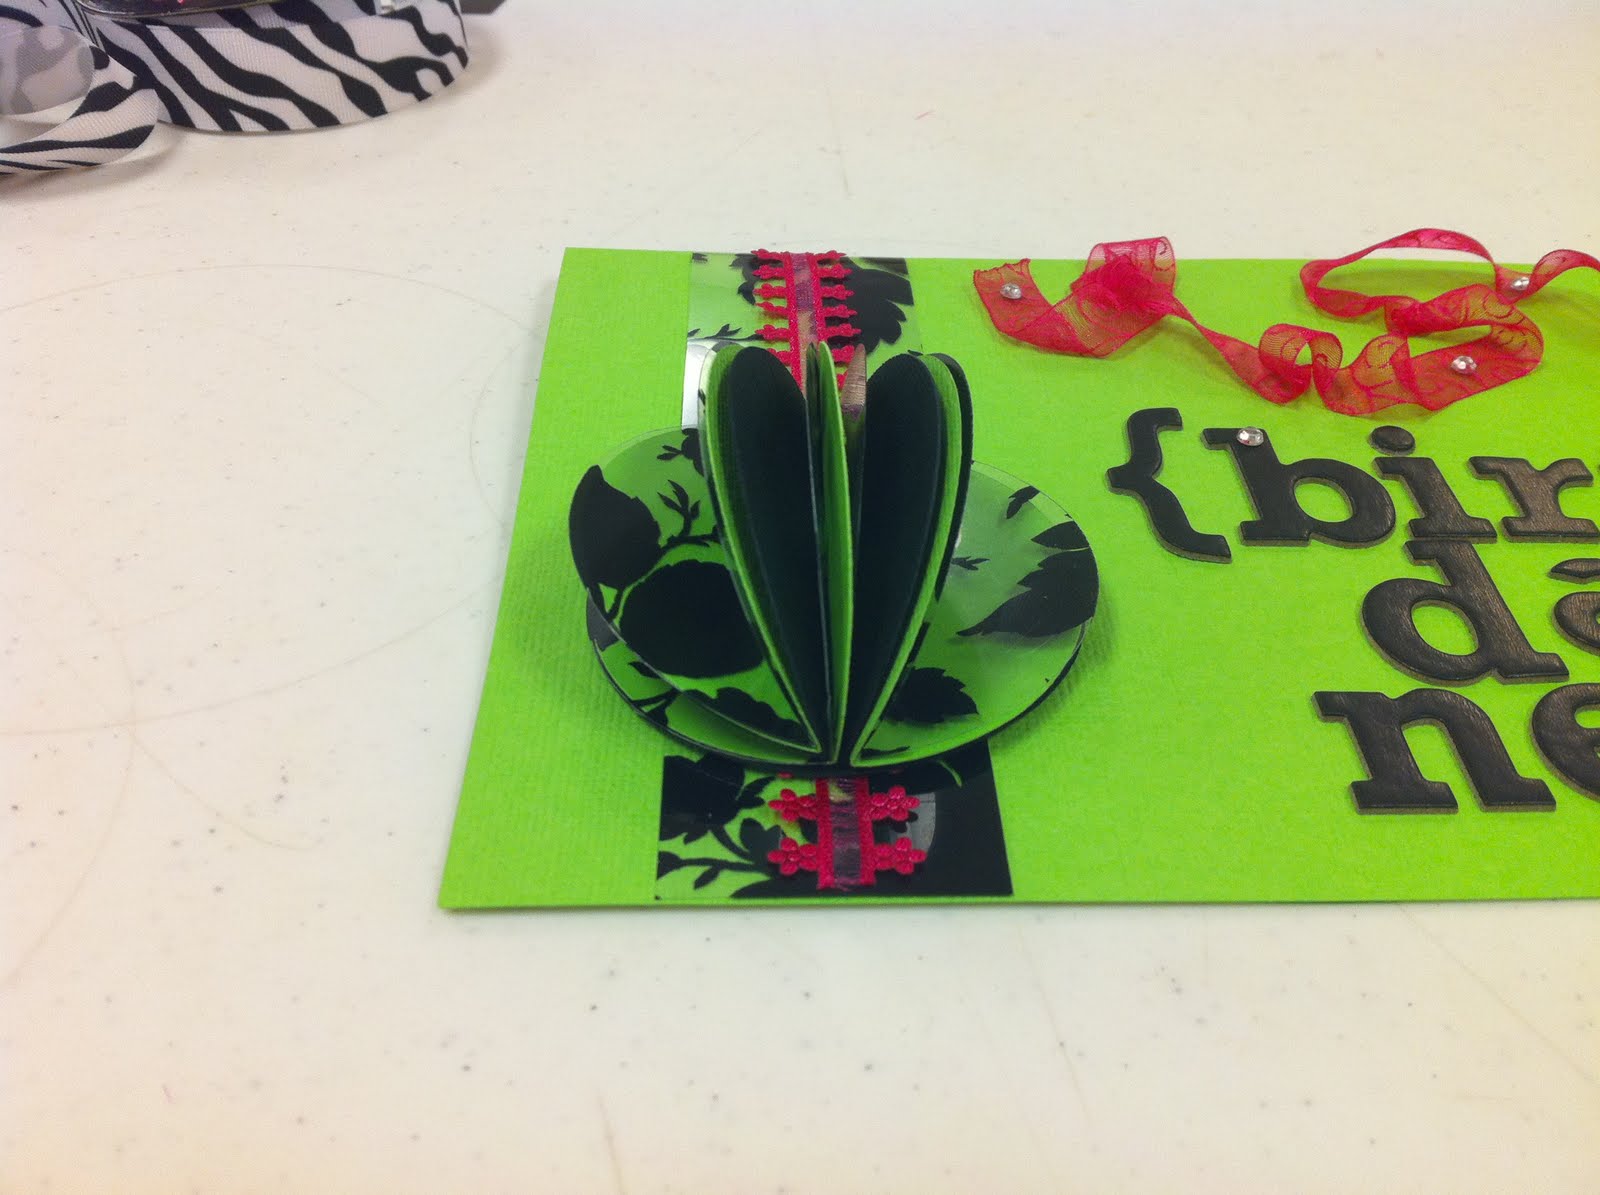 I'm not really even sure how I ended up with this "beach ball" design, but it really worked.
I cut the circles using a Cricut, and if I remember correctly they are 2 inch circles. Of course, depending on your project, you could use whatever size you wanted! Sister's favorite color is green, so naturally that's what I went with. The pink is just an accent, and a little reflection of me. =)
 I used about 4 circles of each paper: Black, Green, and the gorgeous transparent black paper. It worked out wonderfully for this project. You will also need one piece as your base.
Fold them in half using whatever method floats your boat. I never seem to have luck with bone folders, so I either use a roller or something heavy, like a book.
 I used glue gots for adhesive. They worked perfectly and are the least messy route, in my opinion. Just apply two on the outside edges of the fold.
 Start with a flat circle as your base. I chose black. As you can see, this one had previously beed folded, because it took me a few attempts before I came up with the finished product. So reallt your base piece doesn't have to be folded.
 Once all the circles are folded, just start applying them! I sort of sectioned the base circle off, and applied an even amount of circles to the left and right side. I initially tried applying them as flat pieces, stacked on top of each other, but it didn't have quite the result I was looking for.
In the end, it turned out perfect! I used adhesive squares to attach it to the card. Once it is positioned and attached, simply fluff out the pieces and move them around as you like.
Sister and I always have continuous running jokes with each other, and somehow around that time we had started adding "ness" to everything we said. Fabulousness, awesomeness, adorableness...you get the picture. So this was a birthdayness card! =)
This method would be super cute if you used standard beach ball colors for a summery birthday card, or for a summer collage or shadow box.
Happy Scrapping!
-Jenn (With 2 N's)
You're right. It was a.DOR.able!
ReplyDelete